How to Easily Install Solar Panel Mesh Using Nylon Clips
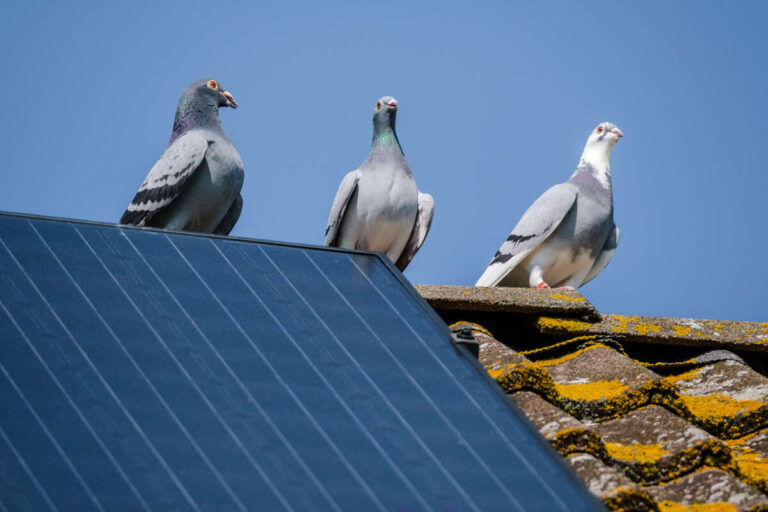
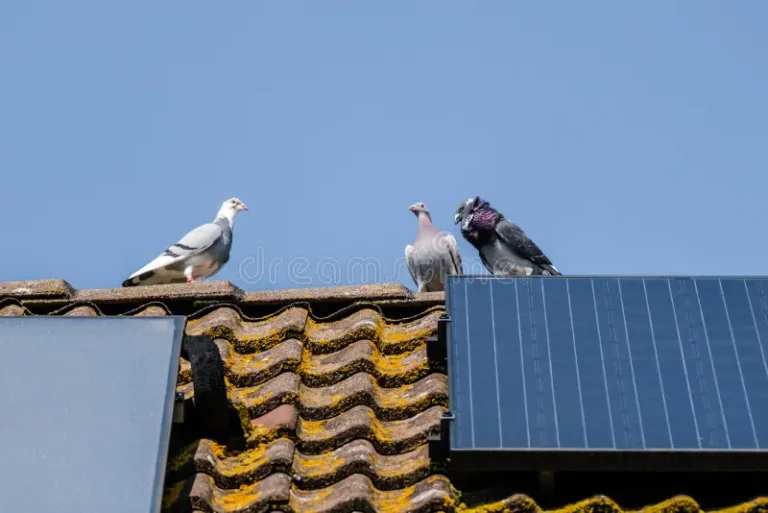
Solar panels are a fantastic investment, but they can create a perfect, sheltered nesting spot for birds like pigeons. This not only leads to messy droppings on your roof and panels, reducing efficiency, but also poses a fire hazard if nesting material builds up near wiring. The simple solution? Installing a mesh secured with nylon clips. It’s a DIY-friendly project that protects your investment.
Why Use Nylon Clips?
While there are metal clips and other attachment methods, nylon clips (also known as non-penetrating clips) are generally preferred because:
Non-Invasive: They secure the mesh without drilling into the solar panel frame or the roof, preserving the warranty and integrity of your system.
Durable: High-quality nylon is weather-resistant and holds up well against UV exposure.
What You’ll Need
Before you start, make sure you have your solar panel bird protection kit ready. Safety first! Working on a roof can be dangerous, so ensure you have a stable ladder, a partner, and appropriate safety gear (harness if required).
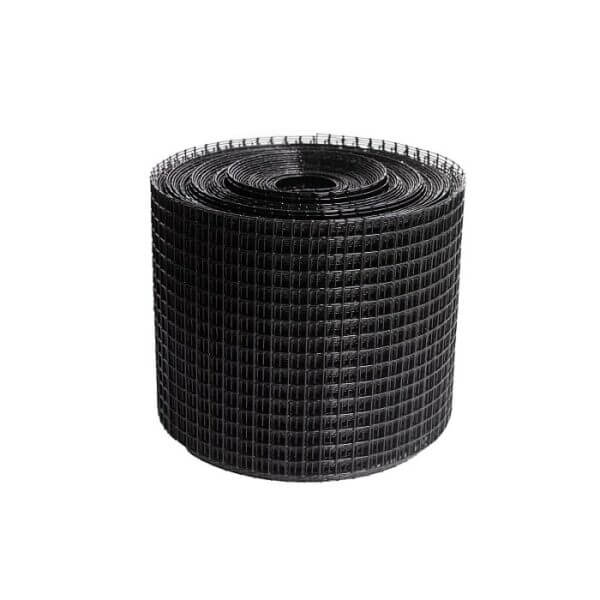
- Solar Panel Bird Mesh: A DPC coated galvanized steel mesh. Mesh length should be 30 meters with opening size of 0.5-inches. Recommended mesh width is 8-inches.
- Nylon Clips: You’ll need enough to space them roughly every 18 inches (45 cm) along the panel edges. 60 clips are enough to securely attach mesh to solar panels.
- Heavy-Duty Snips or Shears: To cut the mesh to size.
- Gloves: To protect your hands from sharp wire edges.
- Ladder & Safety Gear.
- Zip Ties (Optional): For securing mesh corners or overlapping pieces.
Step-by-Step Installation Guide
Step 1: Preparation and Cleaning
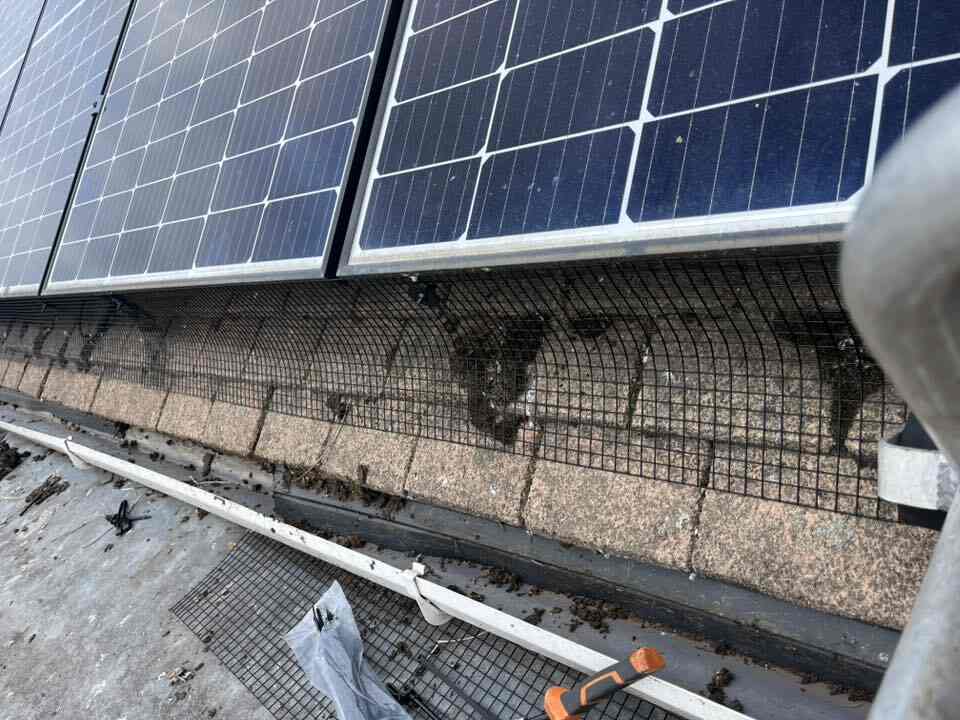
Before installing the mesh, you must ensure the area under the panels is clear.
- Clear Debris: Carefully remove any existing nests, droppings, and debris from underneath the panels. A long-handled brush or shop vacuum can help.
- Sanitize (Optional): If there was a heavy infestation, you may want to clean the area with a disinfectant to discourage birds from returning.
- Measure: Measure the required height of the mesh—it needs to extend from the panel frame down to the roof surface. You want it flush with the roof so birds can’t squeeze under.
Step 2: Cutting the Mesh to Size
The mesh usually comes in a long roll.
- Unroll and Cut: Use your snips to cut strips of mesh equal to the length of each side of your panel array.
- Mind the Corners: You’ll need to make clean cuts to allow the strips to meet neatly at the corners. Overlapping them slightly can provide a stronger seal.

Step 3: Installing the Nylon Clips
The clips are the key to a professional, secure installation.
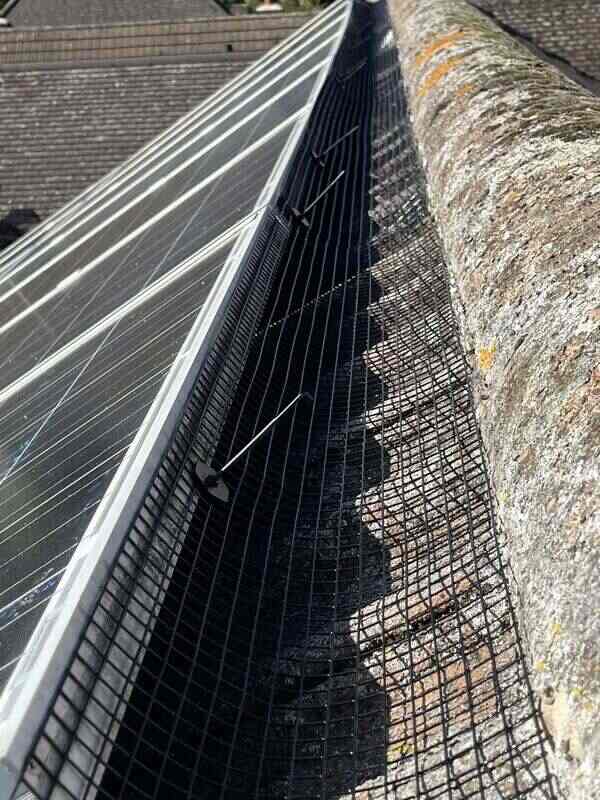
- Place the Clip Base: Slide the base of the nylon clip underneath the edge of the solar panel frame. The clip usually has a small, flat protrusion that fits snugly into the gap.
- Slide the Mesh: Hold the prepared mesh against the panel side and align a piece of wire from the mesh against the clip base.
- Secure the Locking Washer: Take the locking washer part of the nylon clip and push it over the mesh wire and onto the clip base until it locks securely. This clamps the mesh tightly against the panel frame.
Step 4: Finishing the Perimeter
- Repeat: Continue installing clips roughly every 1.5 feet (45 cm) along the edge, ensuring the mesh is taut and flush against the roof all the way around the solar array.
- Check Corners: Pay extra attention to corners and where different mesh pieces meet. Use a zip tie or overlap the mesh slightly and secure it with an extra clip to eliminate any potential gaps.
- Final Inspection: Once all the mesh is installed, walk the perimeter (safely!) and visually check for any gaps where a small bird might still squeeze through. Any loose sections or holes should be corrected immediately.
Pro Tip: Don’t Skimp on Clips!
A tight installation is a successful one. If the mesh is loose, strong winds can dislodge it, or determined birds can push their way in. Using slightly more clips than you think you need is always better than having to climb back up later for repairs!
Enjoy the peace of mind that comes with a protected solar array! Your panels will be safer, cleaner, and operating at peak efficiency, thanks to your simple installation.